Project details
Skill
3 out of 5Moderate
Cost
Around $200 in lumber and hardware
Estimated Time
One day
General contractor Tom Silva and host Kevin O’Connor work together to tackle a clothing rack that folks can assemble and disassemble as often as needed, building it from oak and using reusable hardware.
Cut List
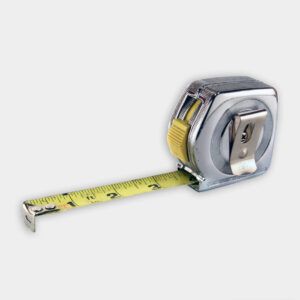
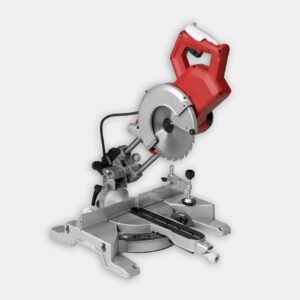
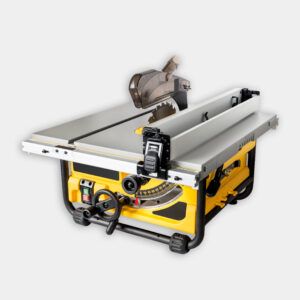
Cut the following items to size using the miter saw, and table saw:
- 4 – 68″ 1-1/2 x 3/4″ full length of A-frame
- 2 – 36 1/2″ 1-1/2 x 3/4″ Frame – Shoe Rack length
- 5 – 33 3/8″ 1-1/2 x 3/4″ interior Shoe Rack slats
- 2 – 18 1/2″ 1-1/2 x 3/4″ frame – Shoe Rack width
- 2 – 36 1/2″ 1-1/2 x 1 1/2″ Pole connecting frame at top
Instructions fo Building a DIY Clothing Rack
- Start by cutting all of the parts of the rack to length and width on the miter saw and table saw following the cut list above.
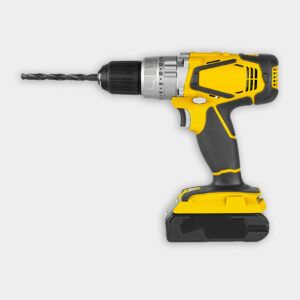
- Stack the four 68-inch legs on top of one another on their flat sides. Align the edges of the boards and wrap all four with a few wraps of painter’s tape to keep them aligned. Make two marks, one 9 inches from the top and one 50 inches from the top. Pulling both measurements from the top ensures that all the rack will be level. Drill a hole through the center of the boards at these marks. Be sure to keep the drill at a right angle.
- Starting with one set of legs, place a bolt through the top hole (9 inches from the top) to create a pivot point. Spread the legs apart until the two bottom holes are at the desired width. Place a scrap piece of wood across the bottom holes to find the ideal angle for cutting the bottom of the legs. Hold the scrap in place by dropping two bolts down into the holes.
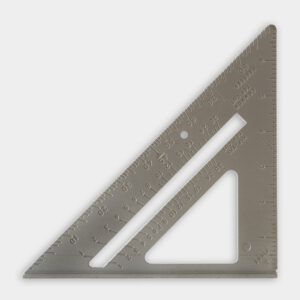
- Place the speed square on the inside of one of the legs and the scrap piece of wood to find the angle with the rafter gauge. Flip the gauge over and place it on the outside of the leg. Allowing the bottom of the gauge to rest against the scrap wood, trace the angle on the leg. Repeat on the other leg using the same angle. Cut the angles on a miter saw.
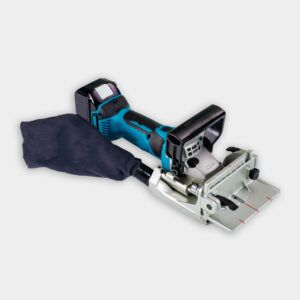
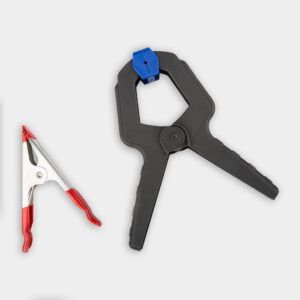
- Lay the rack pieces out on a workbench. Place the two longer pieces parallel to each other and the two shorter pieces stretching between them. Place the 5 slats across, and mark their spacing evenly on the frame. Use a tenon joiner to cut mortises at each of the marks, the ends of the slats, the ends of the shorter pieces, and the faces of the longer pieces to accept the tenons from the shorter pieces. Use glue, floating tenons, and clamps to assemble the rack.
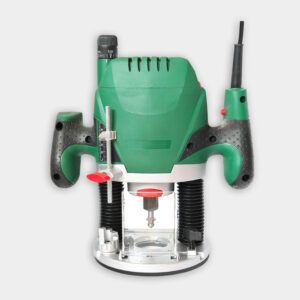
- Glue and clamp the pole pieces together and allow them to dry. Once dry, use a router and round-over bit to shape the poles to a rounder profile. Once rounded, cut the pole to length.
- Sand everything with a random orbital sander until all of the pieces are smooth.
- Drill a hole in the end of each side of the pole. The hole should be slightly larger than the bolt to accommodate the threaded insert. Thread the bolt through a nut and into the insert. Loosen the nut until it seats against the insert, and twist the insert into the wood with a wrench.
- Thread a bolt through the top hole of a leg and into the threaded insert in the pole. Repeat on the side of the pole. Place the rack between the legs and thread a bolt through the leg and into an insert in the shoe rack. Repeat on all four corners until the rack is bolted in place, and stand the unit up.
Resources
To build the clothes rack, Tom will be using 1×4-inch; maple boards. To ensure that the clothes rack is easy to disassemble, Tom will secure the boards with furniture bolts and threaded inserts. The structure of the clothes rack will be 2 A-frames connected by a clothes pole at the top. The bottom will have a built-in slatted shoe rack.
Materials
- Maple stock
- Painter’s tape
- Furniture bolts
- Threaded inserts (and hex nuts sized for the bolts)
- Floating tenons
- Wood glue
